Providers
Cloudflare Integration
Connect your Cloudflare account to DNS Check and monitor your DNS records.
Prerequisites
- A Cloudflare account with at least one domain
- API token with the following permissions:
- Zone:Read (to list domains)
- DNS:Read (to read DNS records)
Creating an API Token
-
Log in to Cloudflare
Visit Cloudflare's API Tokens page and log in to your account.
-
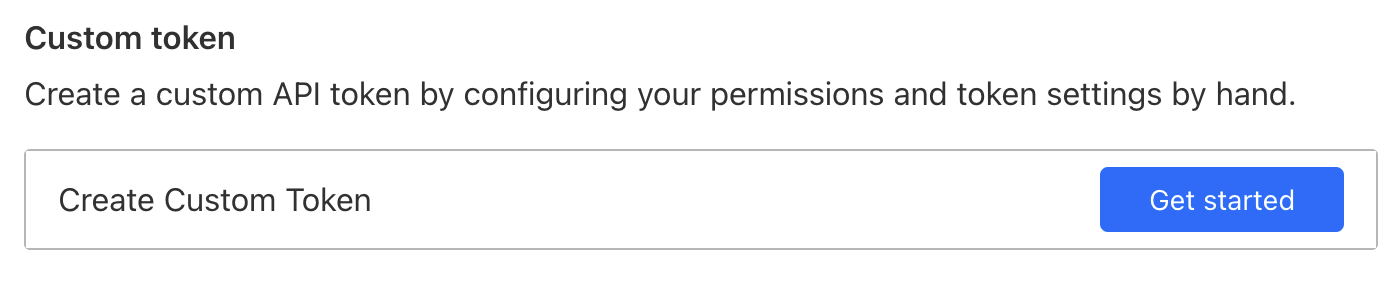
Create a new token
Click the "Create Token" button and select "Create Custom Token".

-
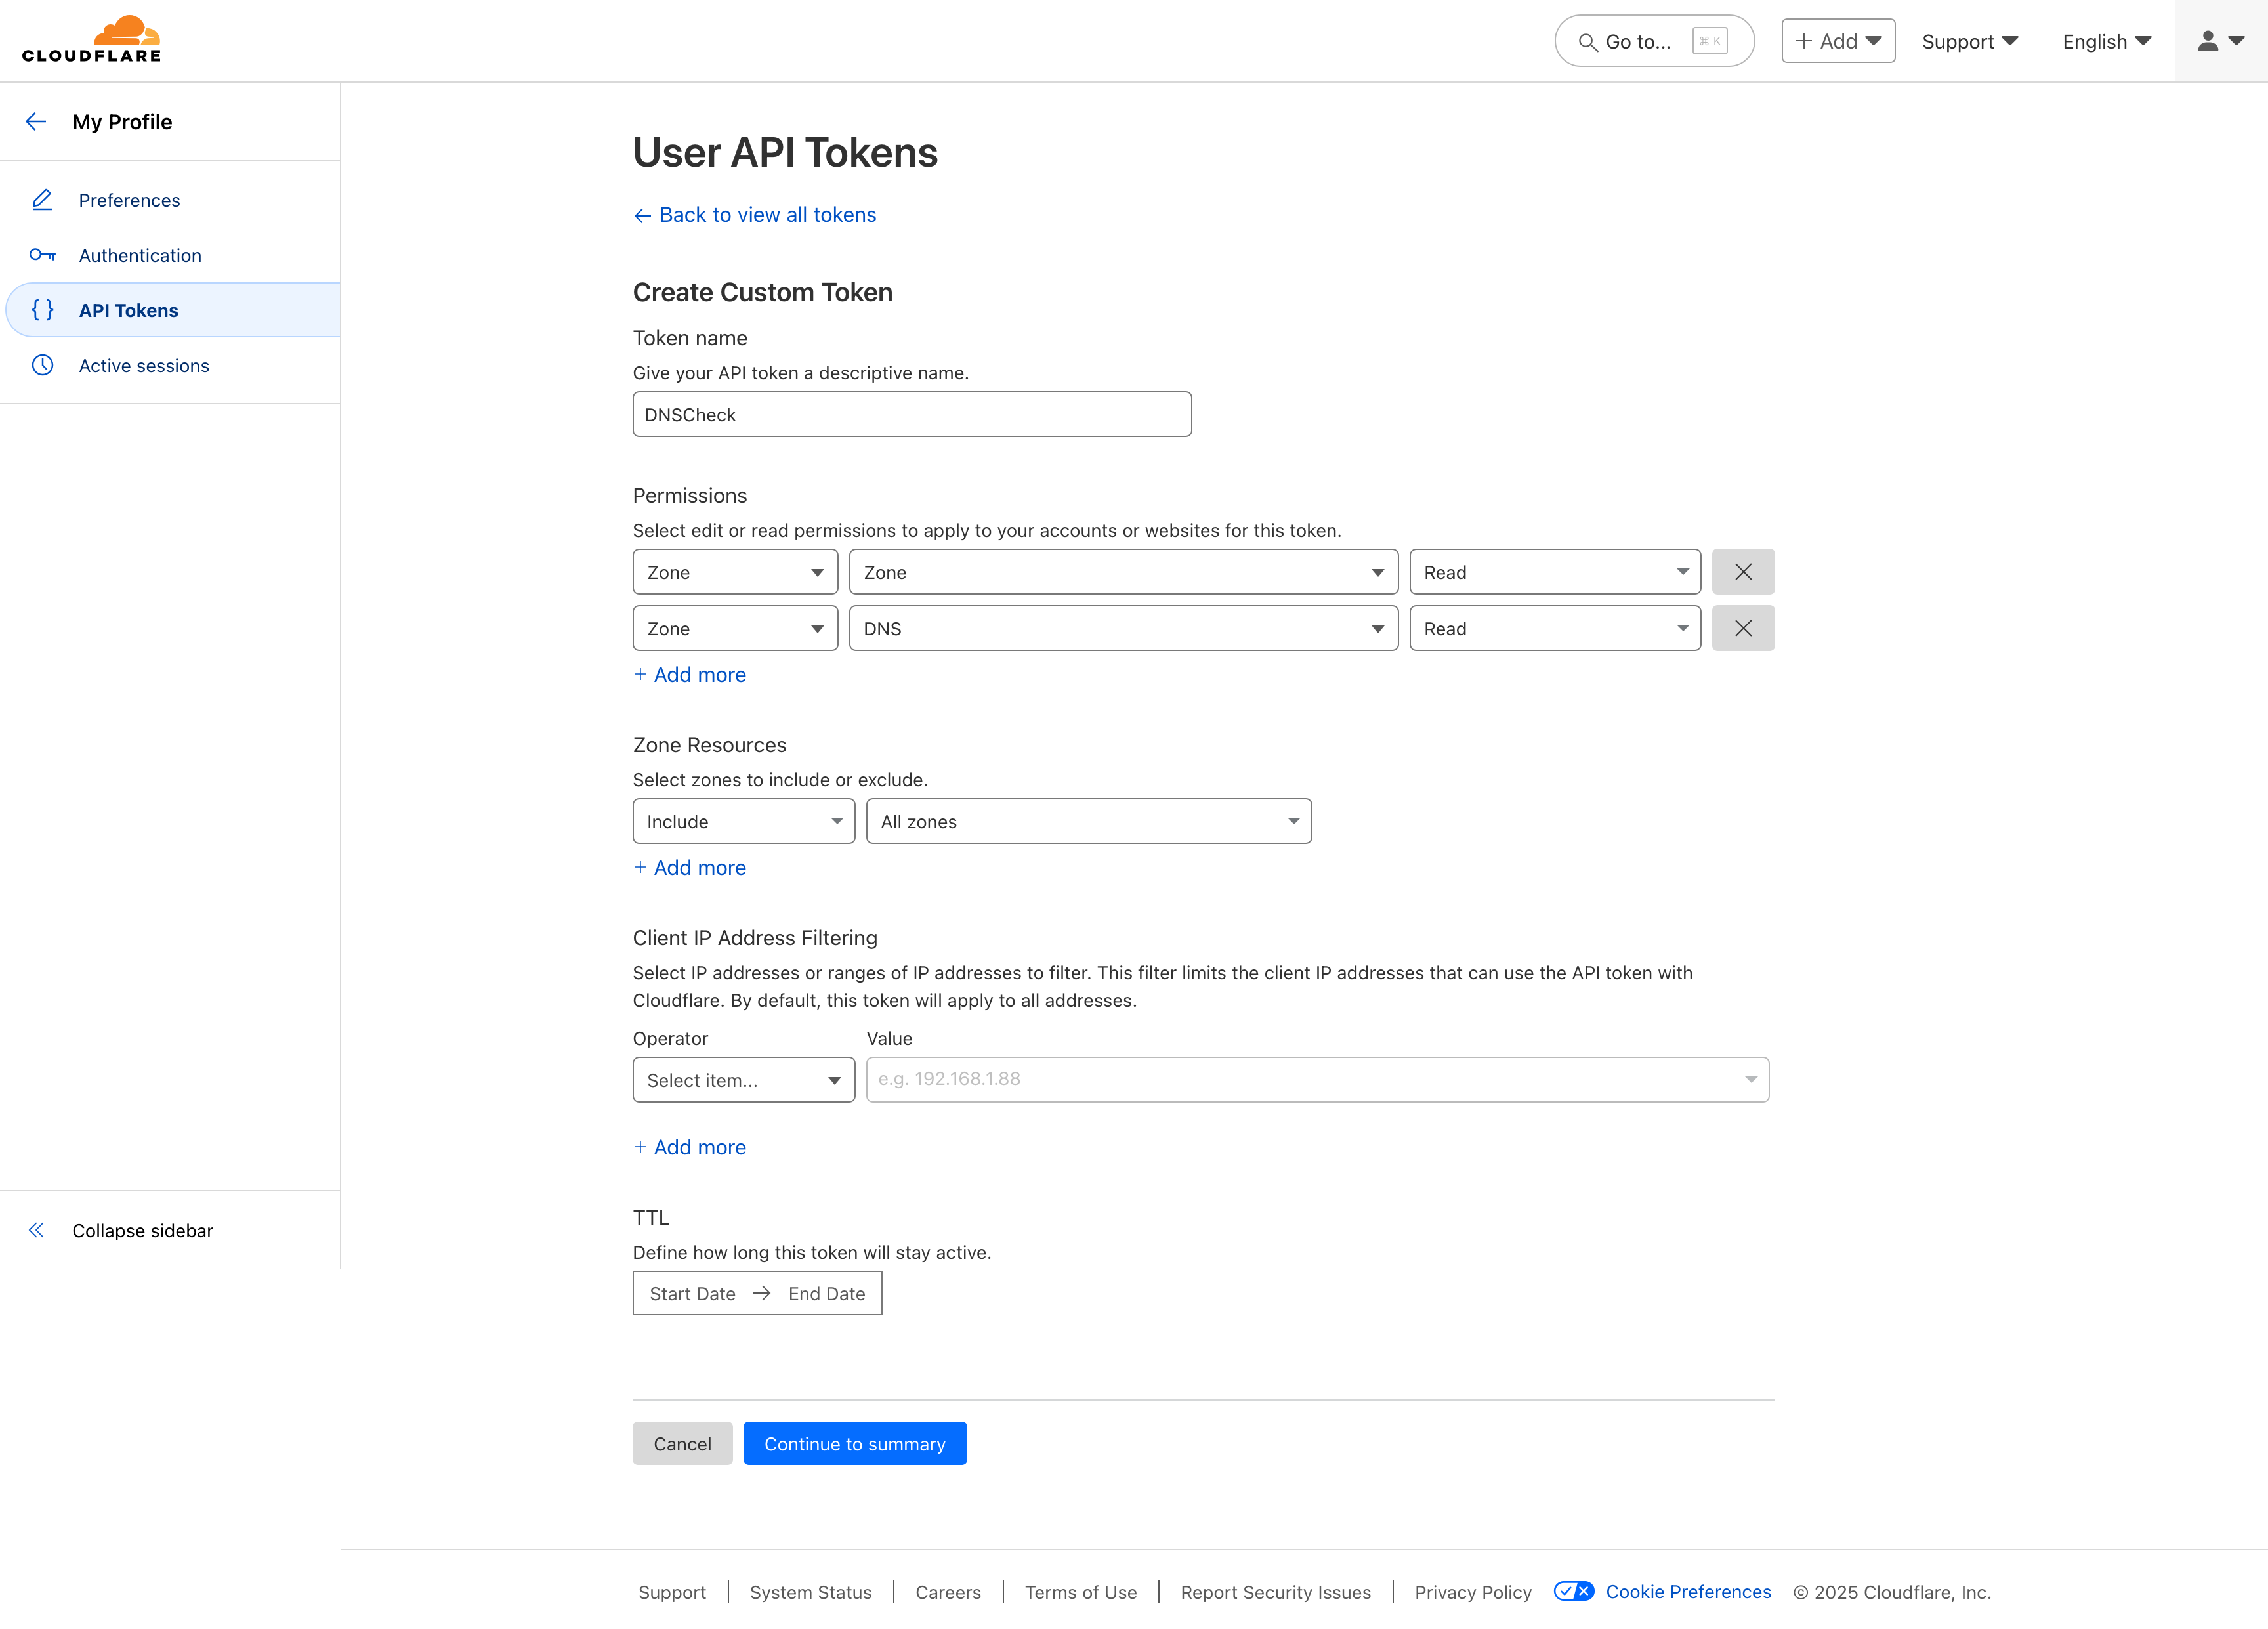
Configure permissions
Set up the following permissions:
- Zone - Zone - Read
- Zone - DNS - Read
-
Set token name and expiration
Give your token a descriptive name (e.g., "DNS Check Integration") and optionally set an expiration date.
-
Create token
Click "Create Token" and copy the token value. Make sure to save it somewhere safe - you won't be able to see it again!
Connecting to DNS Check
-
Add Cloudflare integration
In DNS Check, go to Settings > Integrations and click "Add Cloudflare".
-
Enter API token
Paste your Cloudflare API token and click "Connect".
-
Select domains
Choose which domains you want to monitor. DNS Check will automatically detect all available domains in your account.
Monitoring DNS Records
Once connected, DNS Check will:
- Automatically detect all DNS records for your selected domains
- Monitor for any changes to these records
- Alert you when changes are detected
- Keep a history of all changes for future reference
Security Note
DNS Check only requires read permissions and cannot make any changes to your DNS records. We recommend creating a dedicated API token with minimal permissions for security best practices.
Troubleshooting
Common Issues
-
"Unable to list zones"
This usually means the API token doesn't have the correct Zone:Read permissions. Double-check the token permissions in Cloudflare.
-
"Unable to fetch DNS records"
Verify that the API token has DNS:Read permissions for the zones you're trying to monitor.
Need help?
Our support team is here to help you get set up. Contact us if you have any questions.